(Note: These tutorials are meant to provide
illustrative examples of how to use the AMBER software suite to carry out
simulations that can be run on a simple workstation in a reasonable period of
time. They do not necessarily provide the optimal choice of parameters or
methods for the particular application area.)
Copyright Ross Walker 2004
TUTORIAL 6 - AMBER 8 VERSION - SECTION 1
A Coupled Potential QMMM Simulation
By Ross Walker
PLEASE NOTE THIS TUTORIAL IS FOR AMBER 8 ONLY.
AN AMBER 9 QM/MM TUTORIAL IS AVAILABLE
HERE
1) Setting up NMA
In this tutorial we will run two simulations and compare them. In the first simulation we will run a classical MD simulation of N-methylacetamide (NMA) in a spherical cap of TIP3P water. In the second simulation we will run the same thing but this time we will use the semi-empirical PM3 Hamiltonian to calculate the energy and force on the NMA molecule.
The first stage is to build us a topology and coordinate file for NMA in a spherical solvent cap. NMA is simply an ACE and an NME residue joined together. As such it's structure is simple enough that we don't need to bother obtaining an initial pdb structure. We can simply create a "fake" pdb file and have xleap add all the missing atoms for us.
In this "fake" pdb file we simply specify the first atom of the two residues. Xleap will add the missing atoms for us. We give it a "semi" reasonable guess at the coordinates of the two atoms we specify just to make xleap's job a little easier:
ATOM 1 C ACE 1 0.000 0.000 0.000 ATOM 2 N NME 2 3.000 1.000 -1.000 TER |
|
|
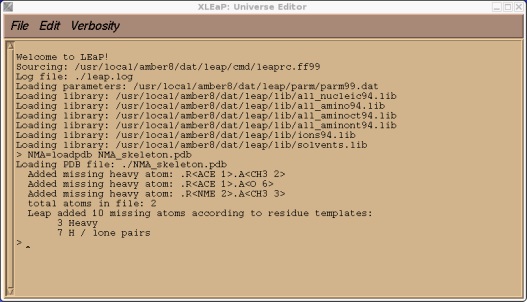
Let's load this into xleap so it can add the missing atoms.
$AMBERHOME/exe/xleap -s -f $AMBERHOME/dat/leap/cmd/leaprc.ff99
NMA = loadpdb NMA_skeleton.pdb
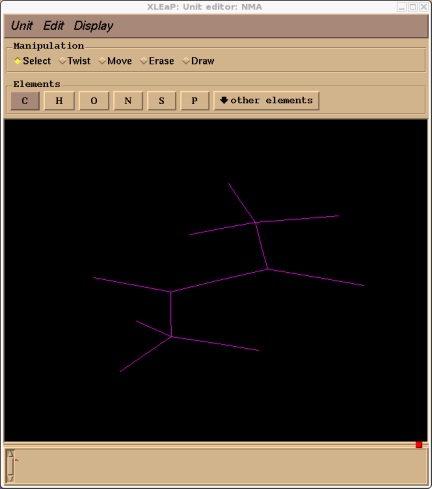
As with tutorial 3 xleap will not have added these missing atoms in ideal locations so we will use xleap's internal minimiser to improve the structure slightly:
edit NMA
Rubberband the whole structure to highlight it and then select Edit->Relax Selection
Ok, now we have a reasonable structure we can go ahead and add our solvent cap. First close the unit editor (Unit->Close). Now we add a solvent cap of 15 angstroms around our molecules centre of mass. For this we will use the SolvateCap command. To get help on this command type:
help solvatecap
As you can see the solvatecap command takes four mandatory arguments and one optional argument:
solvateCap solute solvent position radius
In this case our solute is the NMA unit we created. For the solvent we will use TIP3PBOX. This is a pre-equilibrated box of TIP3P water. Type "edit TIP3PBOX" if you want to take a look at it. For position we will specify the peptide nitrogen of our unit NMA. This means that the solvatecap command will place the cap centre on this atom. For radius we will specify 15 which means we want a solvent cap of 15 angstroms. This should be large enough for our purposes. So the command we run is:
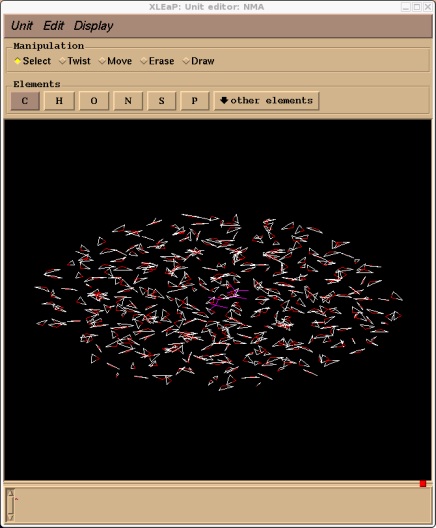
solvatecap NMA TIP3PBOX NMA.NME.N 15
Xleap should report that it added 409 residues. If we edit the NMA unit we should now see our solvent cap. Note, depending on your screen resolution the cap of water may not actually look spherical. Don't worry, it is spherical, it is just your screen distorting it.
edit NMA
Now we can go ahead and save our topology and coordinate files. There is no need to charge neutralise our system since our NMA unit is neutral.
saveamberparm NMA NMA.prmtop NMA.inpcrd
Here are the files: NMA.prmtop NMA.inpcrd
(Note: These tutorials are meant to provide
illustrative examples of how to use the AMBER software suite to carry out
simulations that can be run on a simple workstation in a reasonable period of
time. They do not necessarily provide the optimal choice of parameters or
methods for the particular application area.)
Copyright Ross Walker 2004